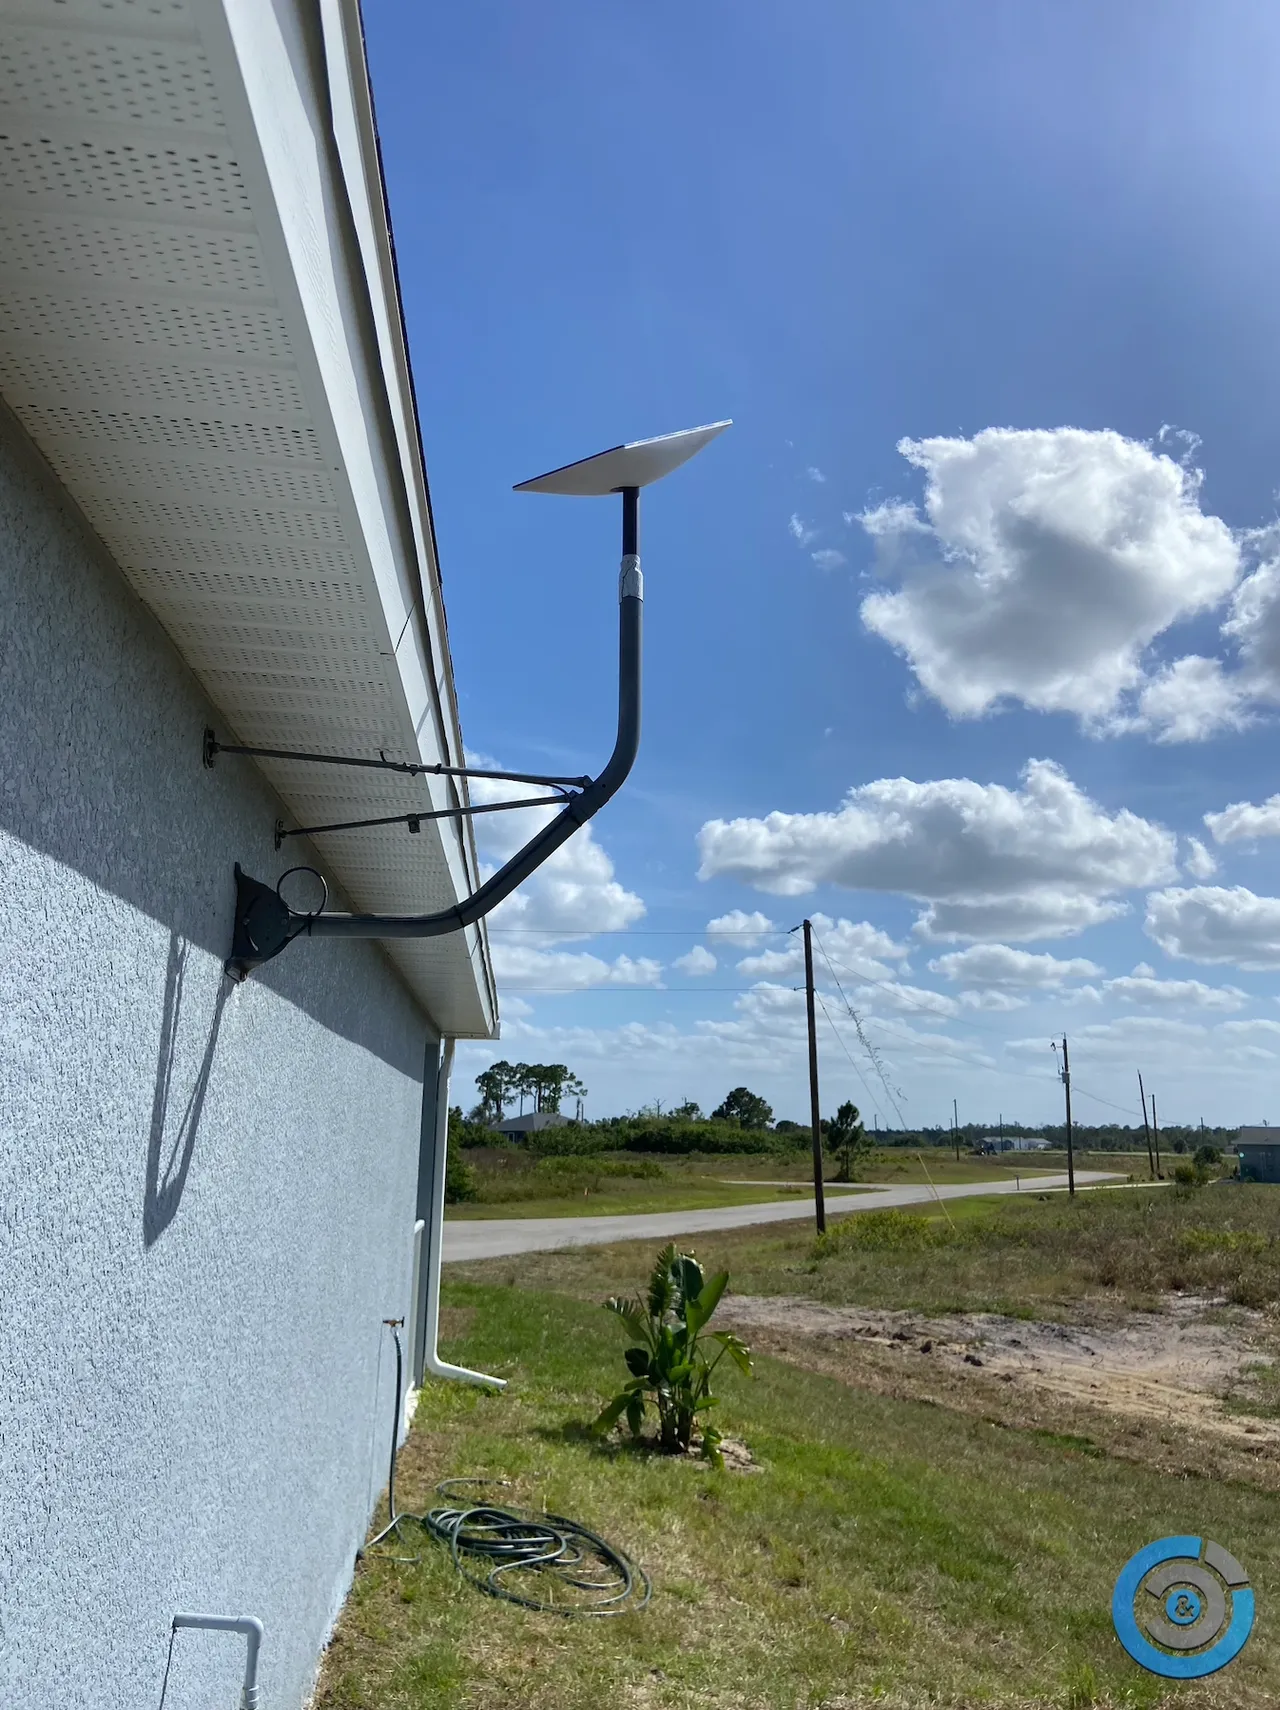
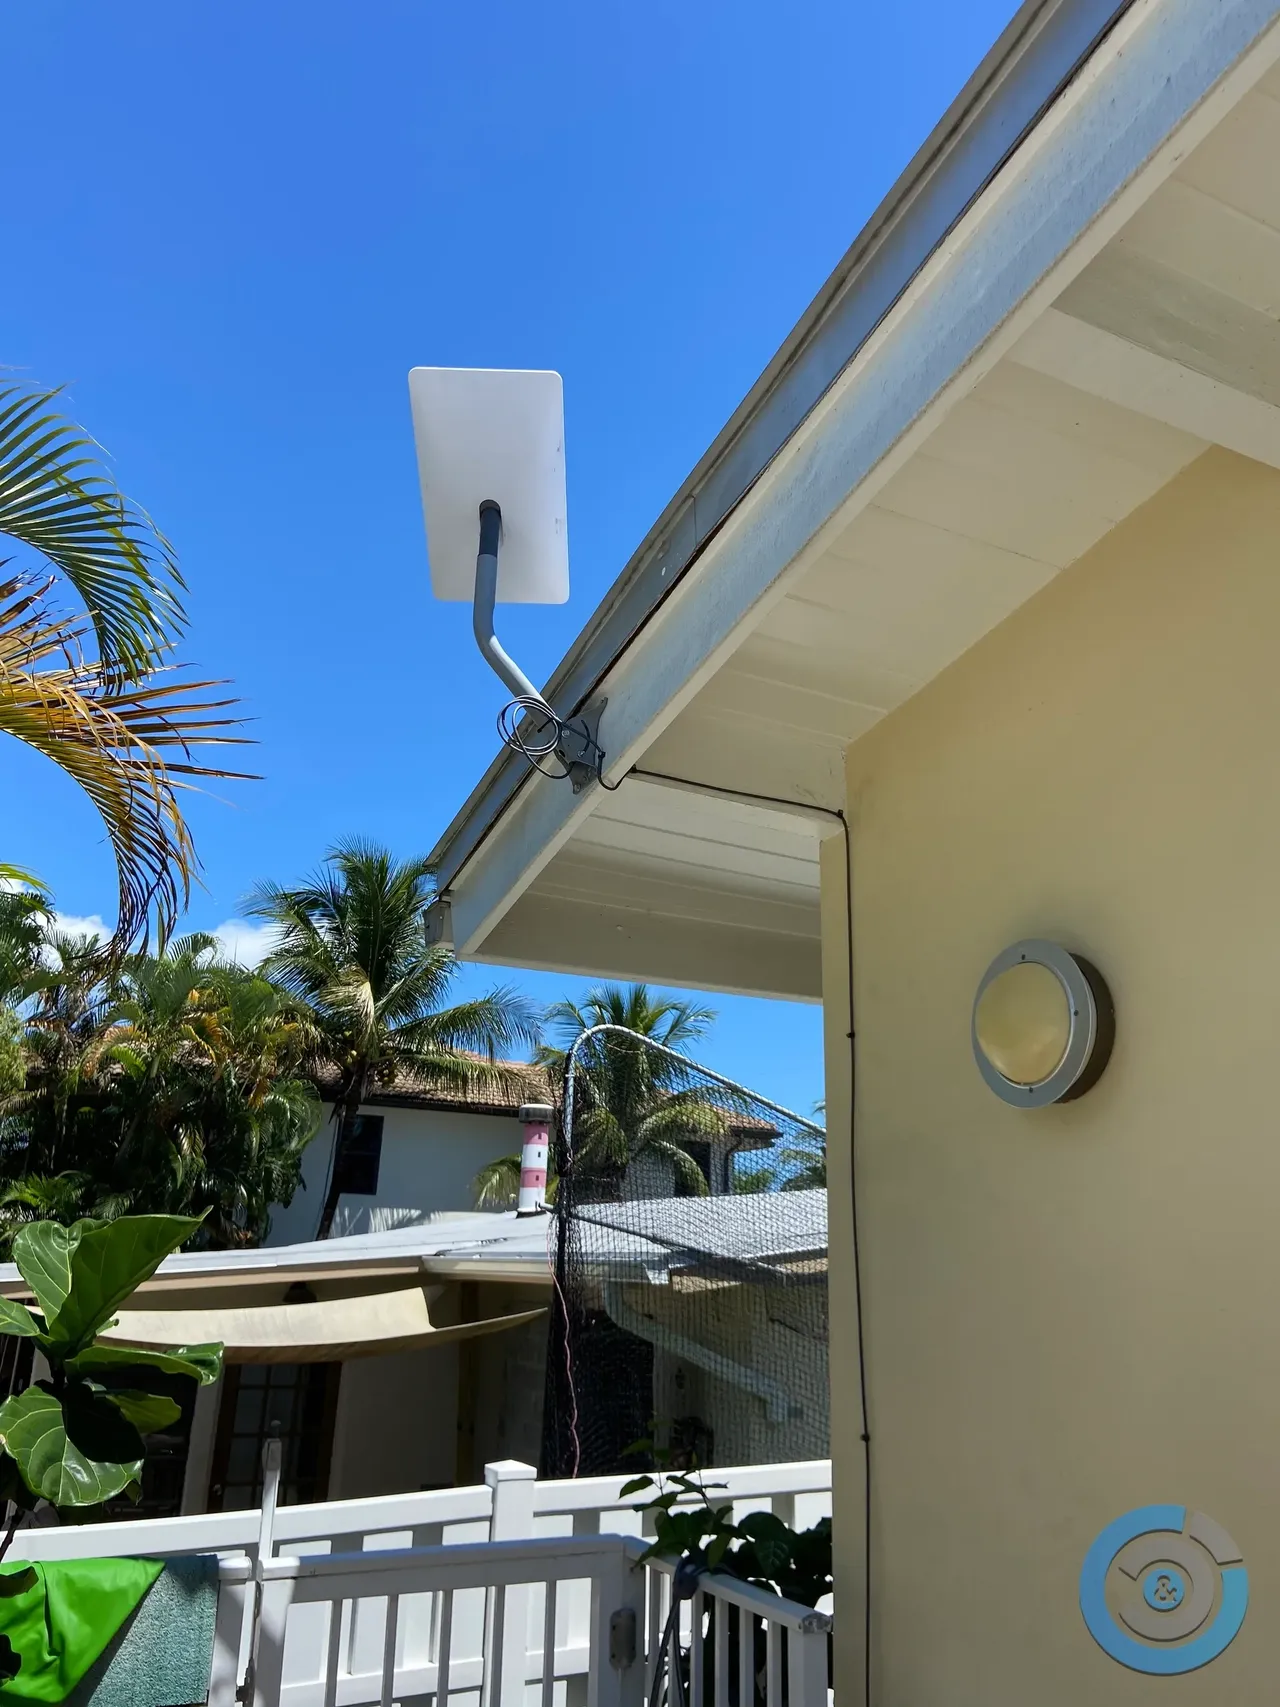
Guide to install an Under The Eave Bracket

In the fast-evolving landscape of satellite internet, Starlink has emerged as a game-changer, offering high-speed connectivity to remote areas. If you're considering Starlink and aiming for a discreet installation, placing the antenna underneath your house eave is a savvy choice. This step-by-step guide to install an Under The Eave Bracket will walk you through the process, ensuring a seamless setup.
Materials Needed:
- Starlink Kit (antenna, power supply, router, cables)
- Ladder
- Mounting bracket
- Drill and appropriate drill bits
- Screwdriver
- Weatherproof sealant
- Cable clips or ties
- Smartphone or tablet for alignment using the Starlink app
Installation Steps:
1. Select an Optimal Location:
Choose an eave location that provides a clear view of the sky, facing the direction recommended by the Starlink app for optimal satellite communication.
2. Attach the Mounting Bracket:
Using a drill, attach the mounting bracket to the underside of the eave. Ensure it's securely fastened, providing a stable base for the Starlink antenna.
3. Install the Antenna:
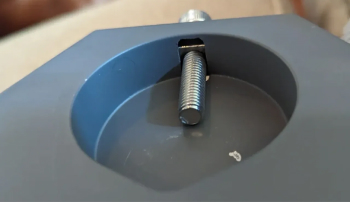
Carefully attach the Starlink antenna to the mounting bracket, following the provided instructions. Double-check the alignment and tighten all bolts to prevent any movement.
4. Secure the Cables:
Route the cables along the underside of the eave, securing them with cable clips or ties. This not only ensures a neat appearance but also protects the cables from environmental elements.
5. Connect to Power:
Connect the power supply to the Starlink antenna, and plug it into a reliable power source. Ensure all connections are secure.
6. Align the Antenna:
Use the Starlink app on your smartphone or tablet to align the antenna. Follow the on-screen instructions to adjust the azimuth and elevation angles until the app signals optimal alignment.
7. Weatherproofing:
Apply waterproof sealant around cable entry points and any drilled holes to safeguard against the elements. This step is crucial to prevent water intrusion and ensure the longevity of your setup.
8. Test Connectivity:
Confirm successful alignment and connectivity by testing your Starlink internet connection. Follow any additional setup instructions provided by the Starlink app.
9. Monitor and Adjust if Needed:
Keep an eye on the signal strength and performance over the following days. If necessary, make minor adjustments to the antenna's position for optimal performance.
If you prefer professional assistance or encounter any challenges during the installation process, http://www.flstarlink.com for professional installation services.
By following these steps, you can install your Starlink antenna underneath the house eave, combining high-speed internet with a clean and inconspicuous setup. Enjoy the benefits of satellite internet connectivity while maintaining the aesthetic appeal of your home.
Book Your Starlink Installation
in Florida Now
Trust FL Starlink for professional, fast satellite internet installation anywhere in Florida.


