A Step-By-Step Guide on How to Install a Starlink Dish

In recent years, SpaceX's Starlink project has gained widespread attention as it aims to provide high-speed internet access to even the most remote areas of the world. If you're one of the fortunate individuals who have access to the Starlink service, you may be wondering how to install the Starlink dish to start enjoying fast and reliable internet connectivity. In this step-by-step guide, we'll walk you through the process of installing a Starlink dish.
Before You Begin
Before you dive into the installation process, it's essential to make sure you have everything you need. A Starlink kit typically includes:
1. Starlink dish
2. Starlink modem
3. Power supply
4. Ethernet cable
5. Mounting tripod
6. A smartphone or tablet with the Starlink app installed
Ensure you have all these components ready before you start the installation process.
Starlink Dish Install Steps
Step 1: Choose an Installation Location
Selecting the right location for your Starlink dish is crucial. You'll need a clear view of the northern sky since Starlink satellites orbit in low Earth orbit (LEO) and are visible from the northern hemisphere. Avoid obstructions such as trees, buildings, and other objects that could interfere with the dish's line of sight.
Step 2: Set Up the Tripod or Mast
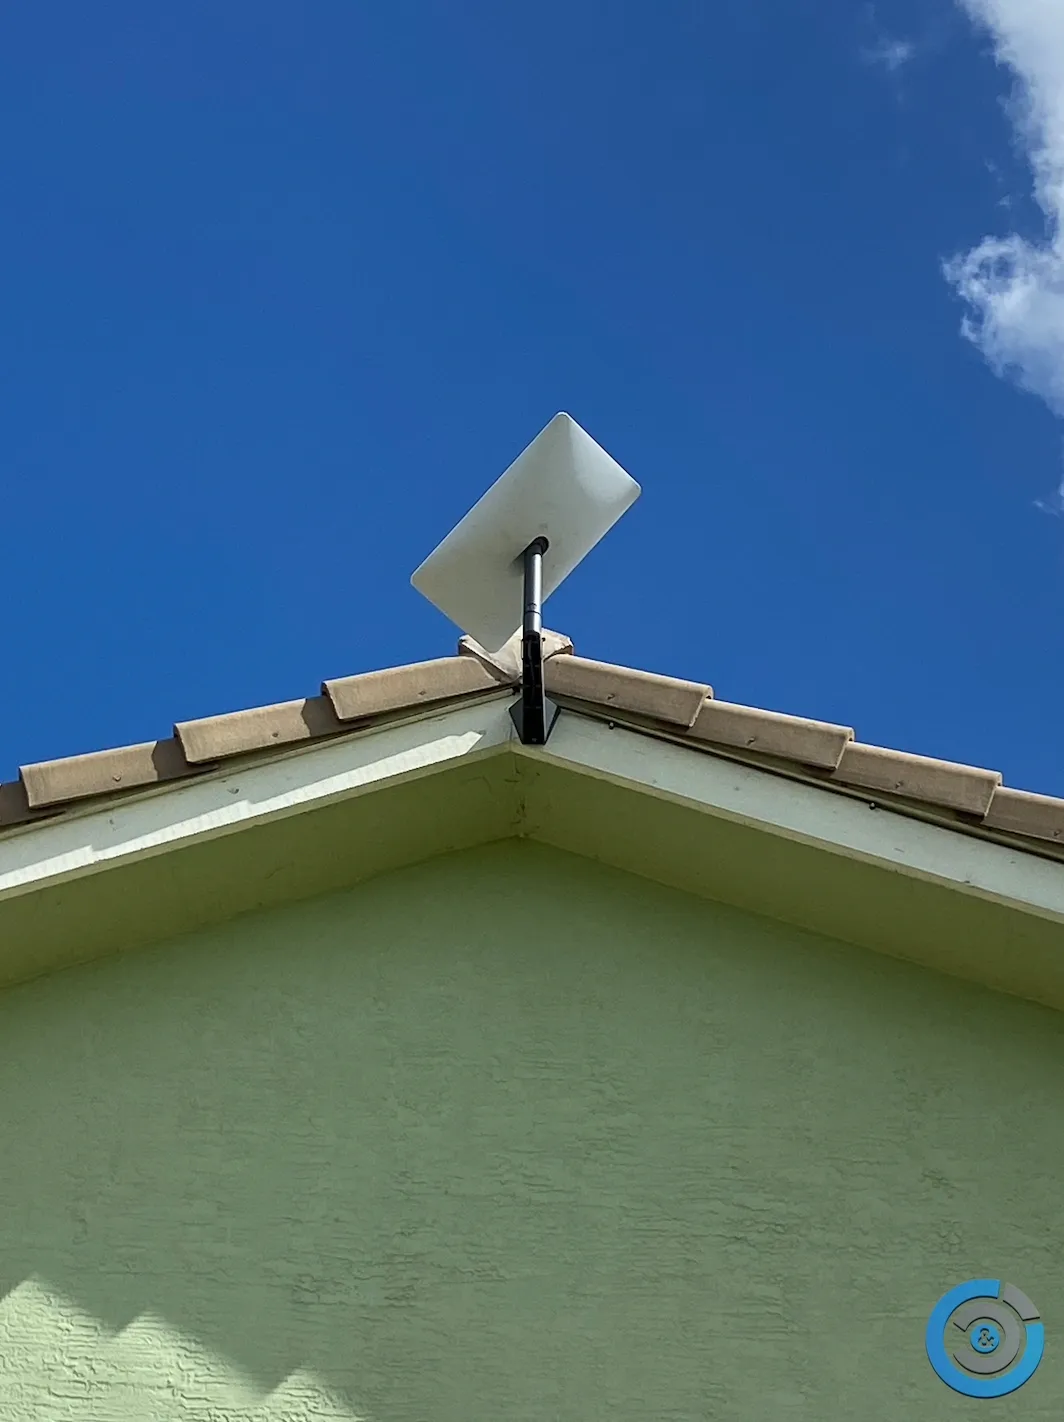
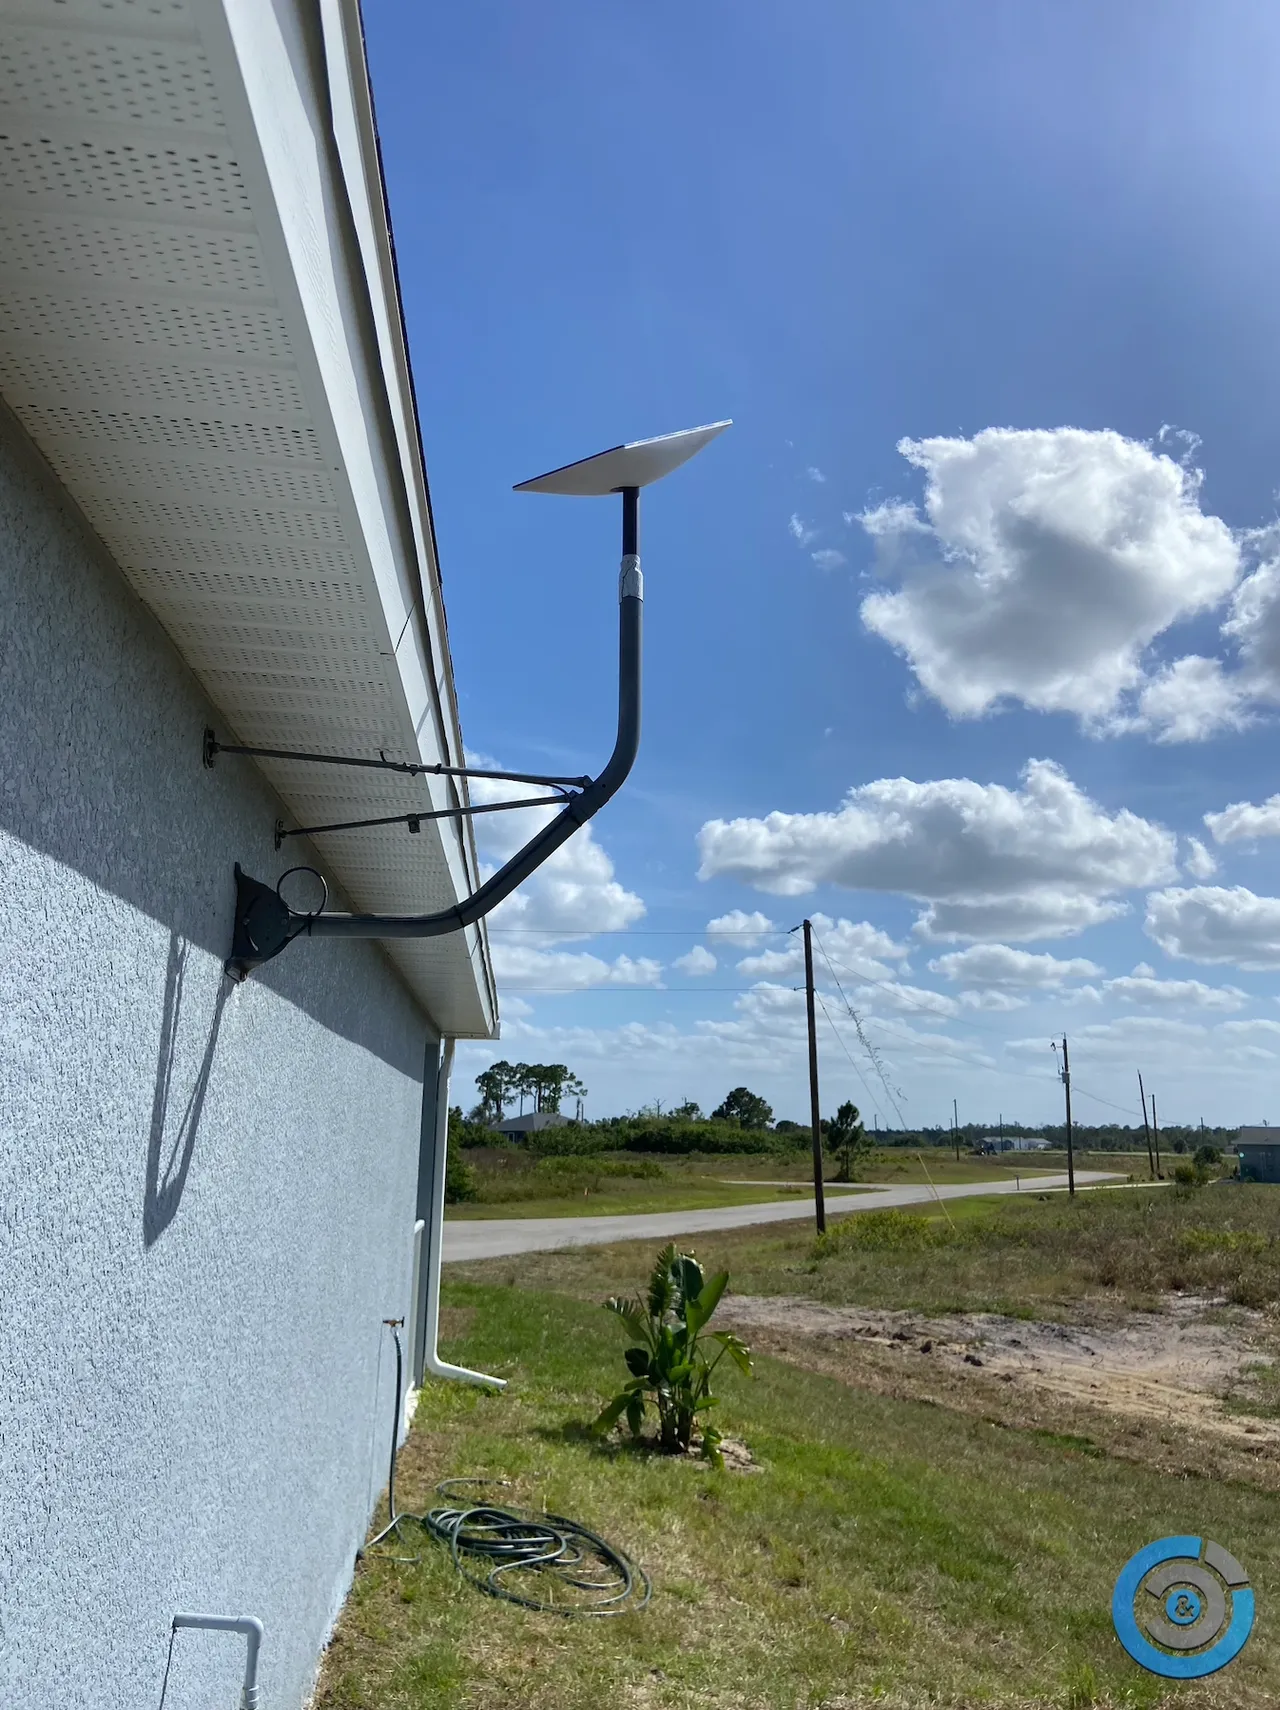
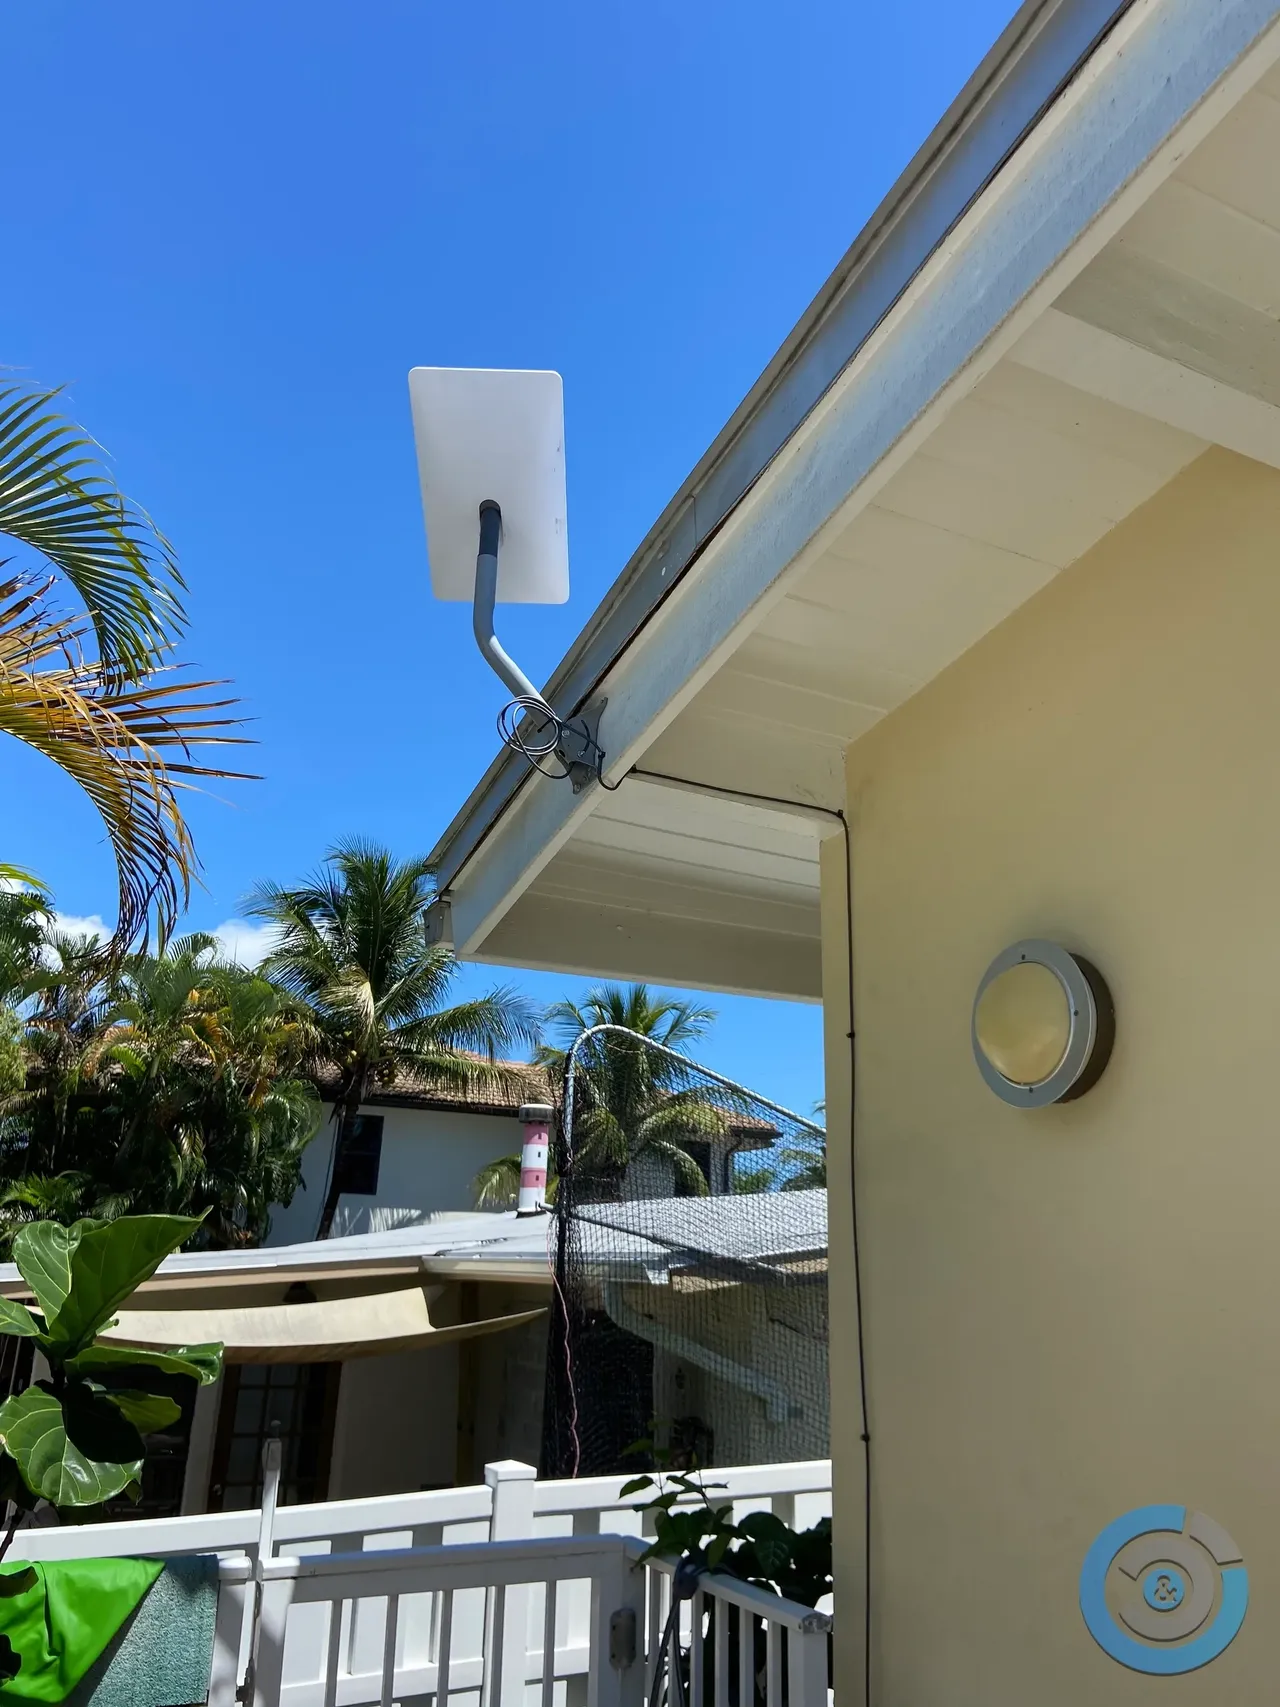
Assemble the mounting tripod included in the kit. Make sure it's stable and positioned securely in the chosen location.
Step 3: Attach the Dish to the Mounting Tripod or Mast
Connect the Starlink dish to the tripod using the provided hardware. Ensure the dish is level and secure.
Step 4: Connect the Modem
Take the Starlink modem and connect it to the dish using the provided cable. Make sure the connection is snug and secure.
Step 5: Power Up the Dish and Modem
Plug the power supply into the modem and connect it to an electrical outlet. Then, power up the Starlink dish by connecting it to the modem. It may take a few minutes for the dish to boot up and align itself.
Step 6: Download the Starlink App
On your smartphone or tablet, download the Starlink app from the app store. This app will help you with the dish alignment process and keep you updated on your connection's status.
Step 7: Follow the App's Instructions
Open the Starlink app and follow the on-screen instructions to align your dish. You will need to point the dish accurately towards the northern sky. The app provides real-time feedback to help you achieve the best alignment.
Step 8: Wait for Satellite Connection
Once the dish is correctly aligned and connected to the satellites, you'll receive confirmation from the app. This means you're ready to enjoy high-speed internet via Starlink!
Step 9: Secure the Cables
Make sure all cables and connections are secured and protected against the elements.
Step 10: Test Your Internet Connection
With your Starlink dish successfully installed, test your internet connection on your connected devices to ensure everything is working correctly.
Congratulations! You've now successfully installed a Starlink dish and can enjoy high-speed internet connectivity, even in remote areas.
While installing a Starlink dish can be a straightforward process for many, sometimes it's best to seek professional assistance, especially if you encounter challenges. If you're looking for expert help with your Starlink dish installation or have questions about antenna installations in general, you can visit https://flstarlink.com/ for professional antenna installation services. These professionals can provide guidance and support to ensure your Starlink dish is set up correctly and works optimally for your internet needs.
Book Your Starlink Installation
in Florida Now
Trust FL Starlink for professional, fast satellite internet installation anywhere in Florida.


